
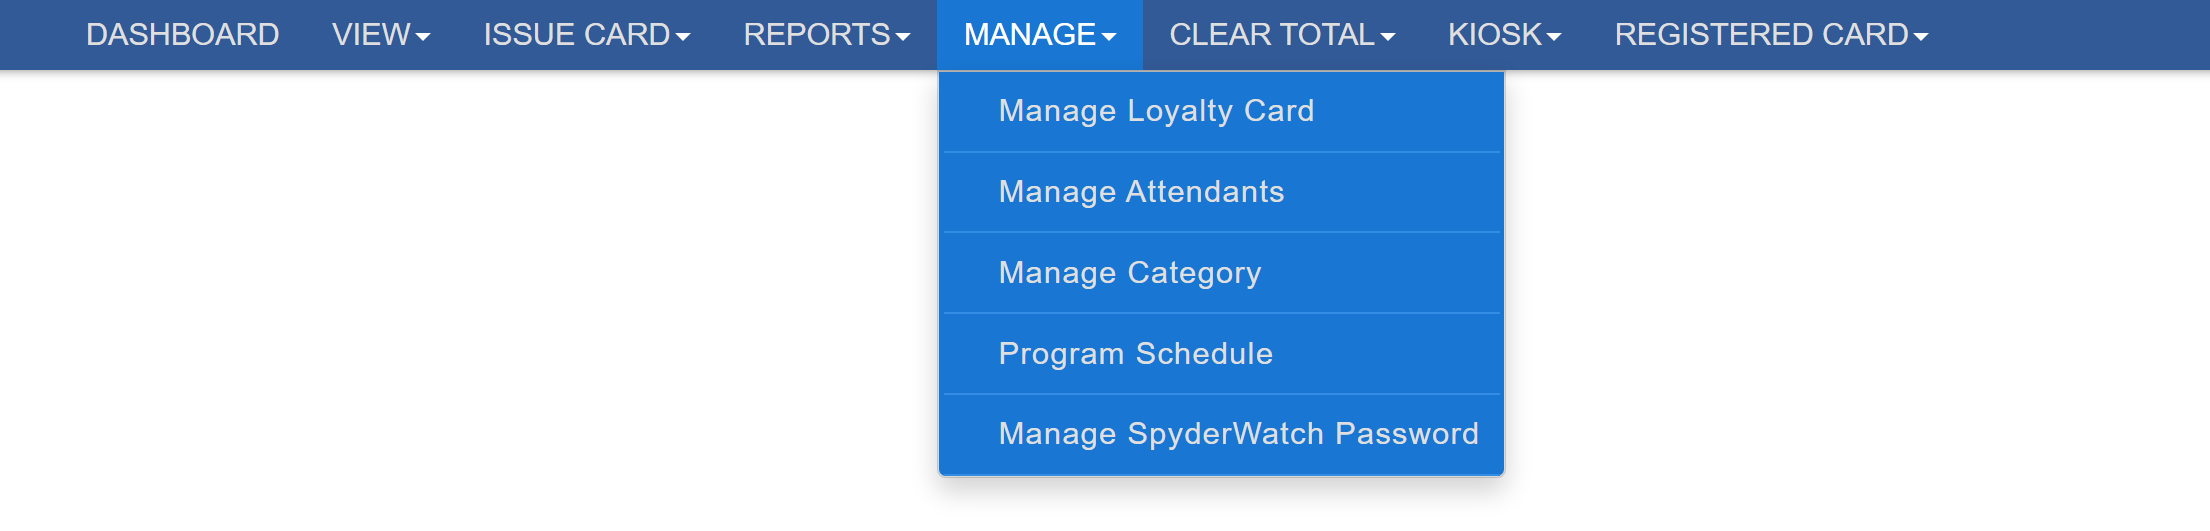
Manage Loyalty Card
In this section, we will demonstrate how to search for and manage loyalty cards within the SpyderWash portal. This includes viewing card details, making edits, refilling balances, and verifying assigned information. From the Loyalty Card Management page, you can search, view, edit, or refill all loyalty cards currently assigned to your locations. Pressing Search without entering any additional criteria will display a list of customer loyalty cards. You can also adjust the Assigned To filter to view cards assigned to specific employees or other groups. A list of cards will appear, similar to the example shown below. The total number of cards and their combined values are displayed at the bottom of the page for easy reference. Selecting Bulk Assign will assign all listed cards to every location associated with your account. This feature is particularly useful if you’ve recently added a new location and need previously issued cards to function there. The Loyalty Card Assigned To filter is especially helpful for reviewing employee cards or verifying card ownership. To ensure accurate results, ensure that only your desired Category is selected and that the Loyalty Card # field is left blank. Within the Loyalty Card details page, you can modify card-specific information. From this view, you can also deactivate a card, which is useful when monitoring inactive or uncertain accounts. You can filter your searches on the Manage Loyalty Card page by Deactivated status to easily locate inactive cards. Lastly, selecting View Trans will open the transaction history for the selected card, where transactions can be filtered by various criteria to narrow your results.

Creating an Employee Card
In this section, we will demonstrate how to create an employee loyalty card that automatically recharges and is excluded from your revenue reports. To begin, navigate to Manage > Manage Loyalty Card. You will be presented with the Manage Loyalty Card screen, similar to the example shown below. In the Loyalty Card # field, enter the card number you wish to modify. For the Loyalty Card Assigned To field, ensure that no category is selected. Once ready, click Search. The card will appear in the list of results. Select Refill Card for the corresponding entry. A refill screen will appear. Confirm that Recharge Card Value is selected — this is the option we want. Change the Payment Type to Cash, and then enter a suitable amount in the Recharge Amount field. Note: The maximum card balance allowed is $200.00. Next, scroll down to the section shown below. Under Assign To, select any option other than Customer. This will enable additional settings for employee cards. Ensure that Auto Recharge is selected. The Minimum Amount field defines the balance threshold that triggers an automatic reload. Enter a Reload Amount (recommended to be less than $150). When finished, click Recharge Now. A green confirmation message stating “Successful” will appear, confirming that the employee card has been created and configured correctly.
Employee Time Clock Card
Creating an Employee Timeclock card is useful for tracking the hours of employees who use the timeclock system. Converting a card for this purpose will make it function exclusively as a time clock punch card, disabling its ability to start machines. To begin, open the Edit Card window from the Manage Loyalty Card page. In this section, update the Assign To value. The card must be designated as an Employee, Technician, or Wash Dry Fold card in order for the Timeclock option to become available. Once this change is made, you will see the card’s status update accordingly on the Manage Loyalty Card page. You can also review clock-in and clock-out activity for timeclock cards by opening the View Trans window, which can be accessed directly from the Manage Loyalty Card page.
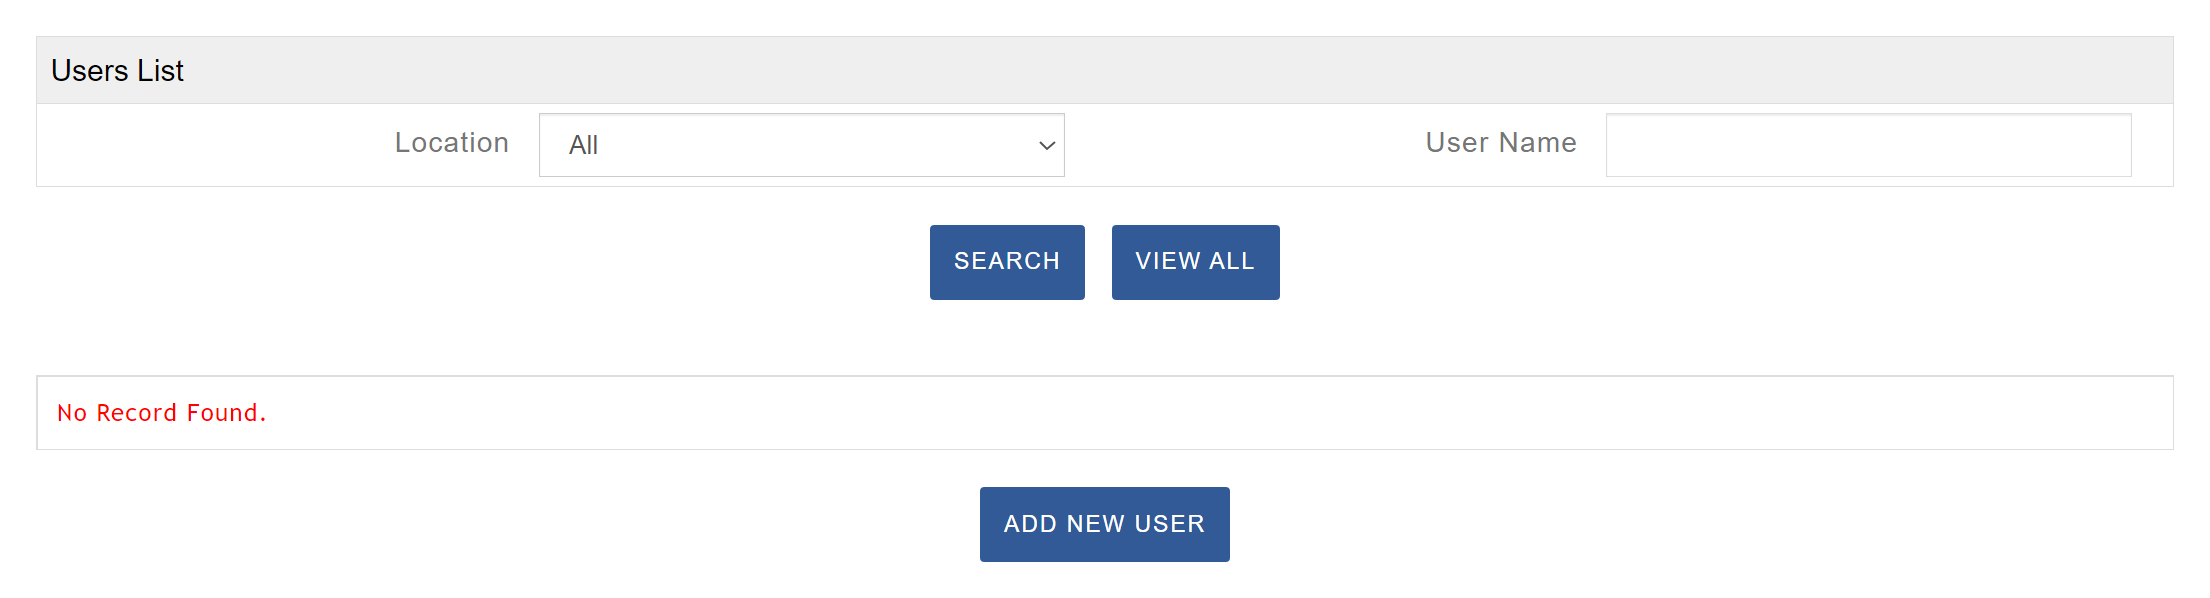
Manage Attendants
To create a new attendant account, log in to your Operator Portal at spyderwash.com/operator. Once logged in, navigate to Manage > Manage Attendants. On the Manage Attendants page, select Add New User to open the account creation section. Complete the required fields on the left, then select the Locations that the attendant should have access to, if multiple are available. Next, choose the specific Pages you would like this user to access. When all selections are complete, click Save to finalize the account setup. The new attendant can then log in to their version of the portal at spyderwash.com/attendant using the credentials you provided.
Manage Category
Free Wash Loyalty Program
The Free Wash Promotion feature allows you to reward customer loyalty by automatically providing a free wash after a set number of paid washes. Before setting up this promotion, ensure it is activated under My Account. To begin, navigate to Manage > Manage Category and click Add New Category. In the entry fields, provide a name for the promotion and specify the Usage Required for Free Wash. This value should be one less than the total number of washes needed to earn the free wash. For example, if you want every 10th wash to be free, enter nine as the Usage required. Next, determine which machines will be eligible for the promotion. You can apply the same promotion to all washers or create separate categories for different machine types—for instance, one Category for 20lb–40lb washers and another for 60lb–80lb washers. To assign machines, use the blue arrow to move the appropriate washer model numbers from the Available Model section to Selected Model, then click Save. If only one model is selected, all machines of that model will be included in the promotion, while others will not. To track the number of free washes redeemed, access the Free Wash Report under the Reports tab. You can also view individual free wash transactions by visiting the View All Transactions page and selecting Free Wash under Transaction Type.

Free Dry Loyalty Program

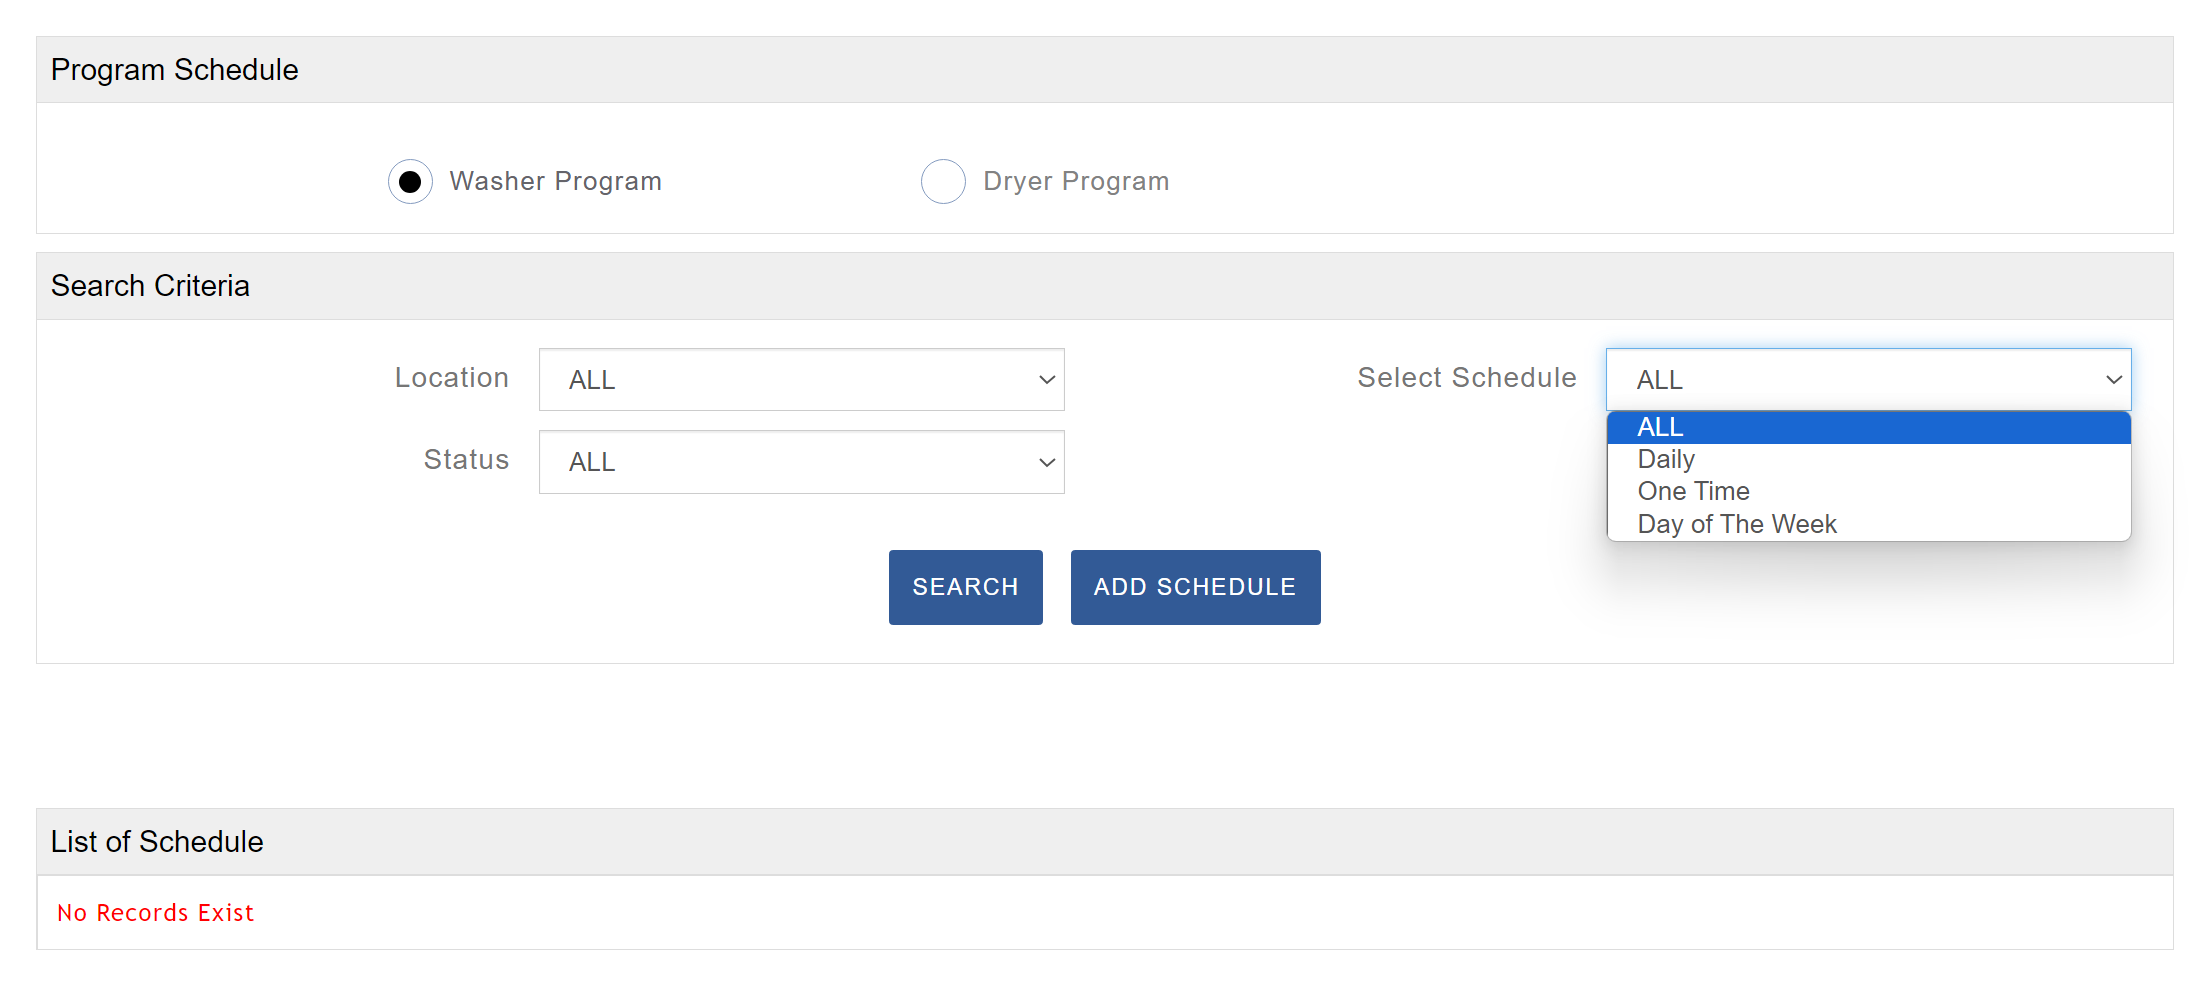
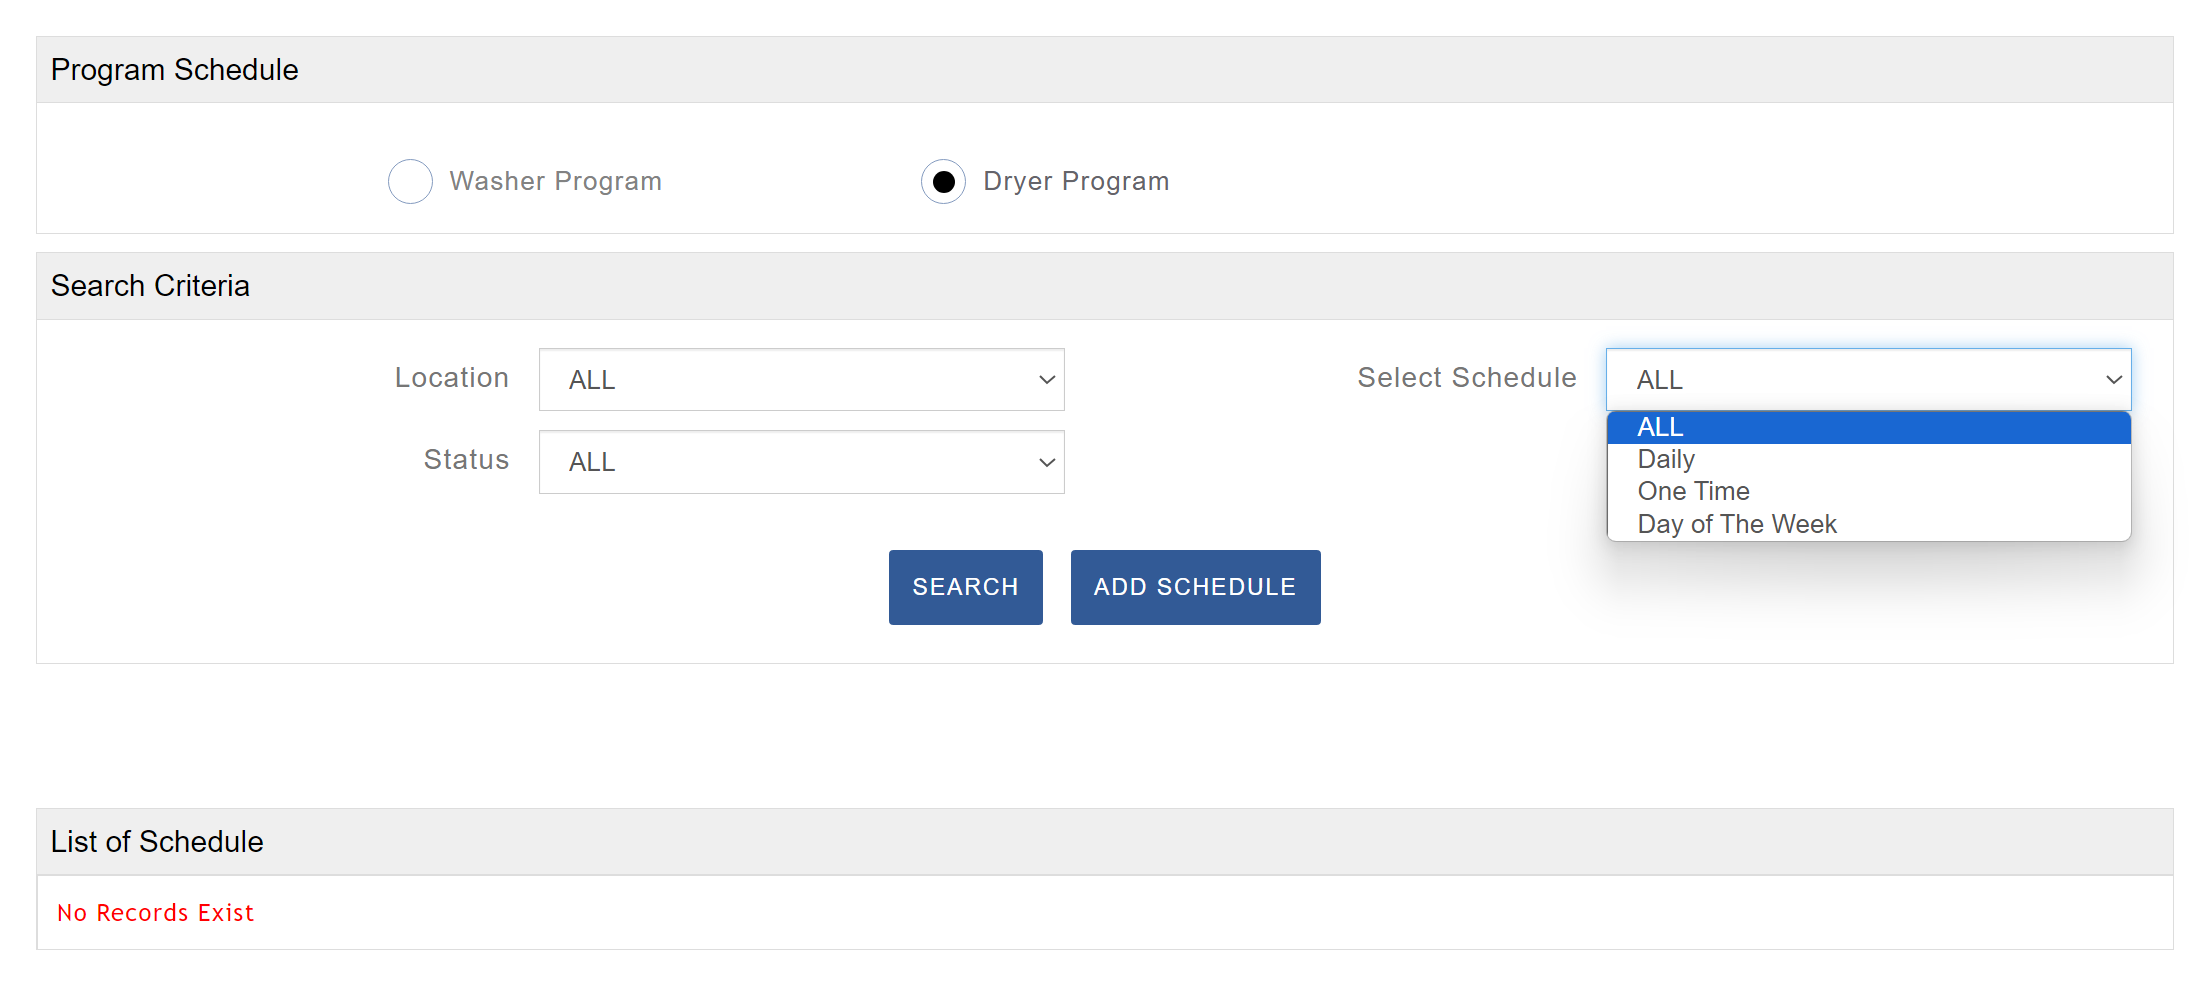
Program Schedule
Manage Spyder Watch Password
Before creating a SpyderWatch password, ensure the feature is enabled by following the steps outlined in ‘Enabling SpyderWatch’. Once enabled, you can create a password that allows customers to log in and view live machine availability at your laundry. To do this, navigate to Manage > Manage SpyderWatch Password. Each location is assigned a unique Log In Code and Password, both of which are specific to that site. The Log In Code appears next to each location name, while the password must be created manually. To set a password, click Edit under the desired location, enter a password, and then select Update. Repeat this process for each location you operate. You may use the same password across all locations, but note that each Log In Code will remain unique. Customers can access the machine availability page by visiting www.spyderwash.com and selecting SpyderWatch Status, or by using the SpyderWash Mobile App. They will then be directed to the SpyderWatch Login, where they can enter the specific Log In Code and Password for your location to view machine status.